Virtual riding instructor
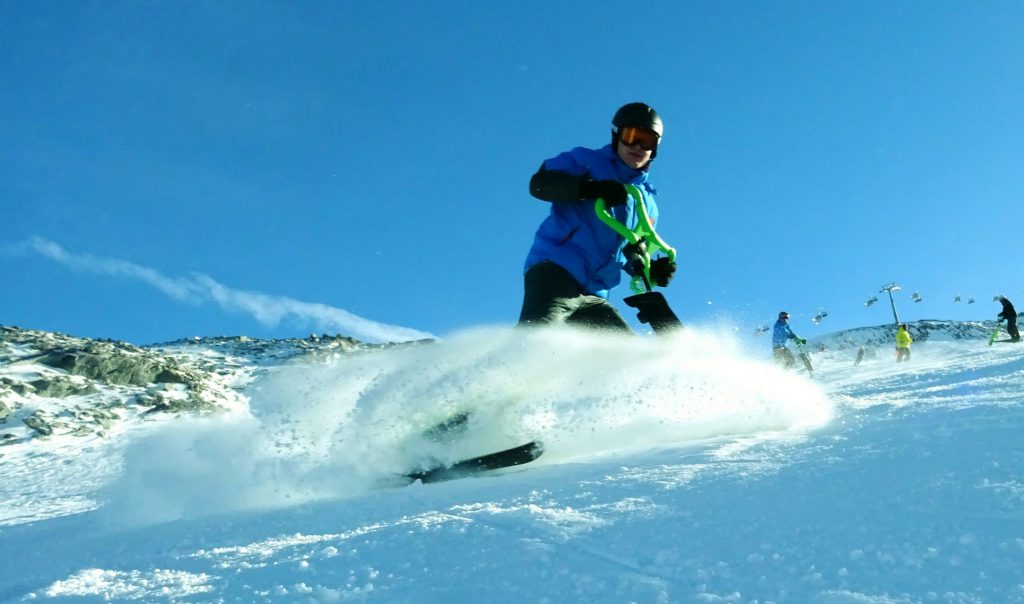
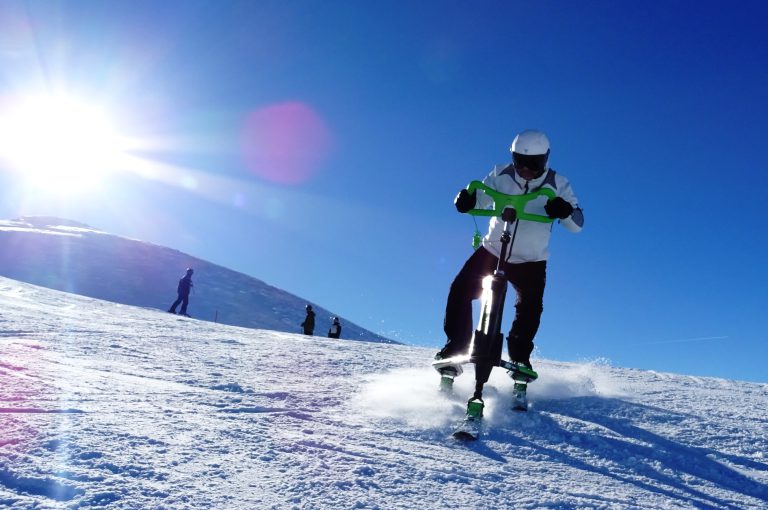
Stand and ride
Learning to ride is very simple and you only need to spend 15 minutes to ride efficiently on the slopes. Below you can see an abbreviated course on learning to ride a Skki Trikke.
Please keep in mind a few basic rules during your first ride.
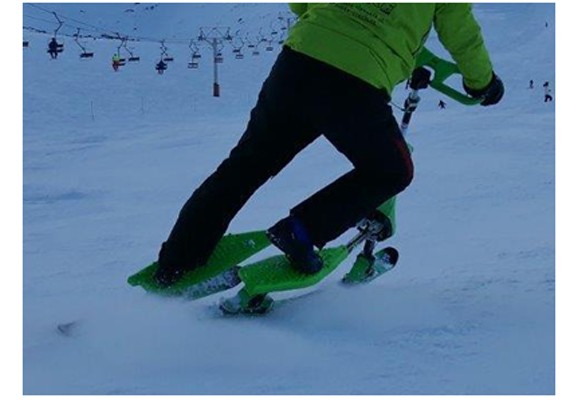
Step 1. Stand with your feet on the platforms with an upright posture. Stand so that your body weight rests on the handlebars. The silhouette of the body can be tilted forward even to the point of placing the head in front of the handlebars.
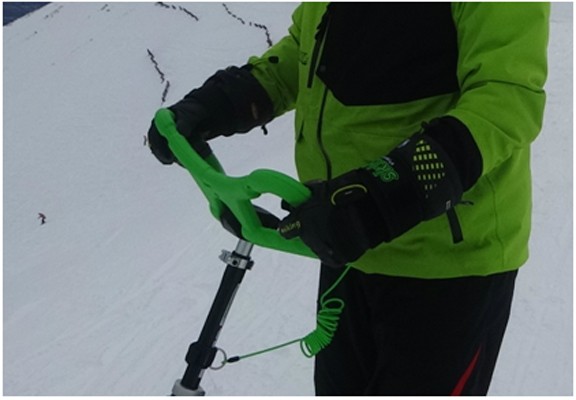
Angle the handlebar so that your hand wrist feels light and free. Attach the safety lanyard to the forearm.
Step 3. Keep your hips close to the handlebar support. This is important, never, even in a turn, lean your hips backwards! This is inadvisable, due to the potential consequences of putting weight on the front ski, which will result in loss of control of speed and direction. For this reason, in the initial stages of learning to ride, it is recommended to keep the hips as close to the handlebars as possible.
Step 4. The handlebars are not designed for turning and changing the direction of skiing! Turns are made with the balance of the body. By working the steering wheel, the edges of the skis are pressed against the slope. Turning the steering wheel is allowed only at low speed on a flat slope.
Step 5. Place the legs on the platforms in a relaxed and as comfortable as possible. For tall people, it is advisable to place the feet further on the platforms, for short people could be closer. The heel can stick out beyond the platform. This is the correct position for dynamic riding.
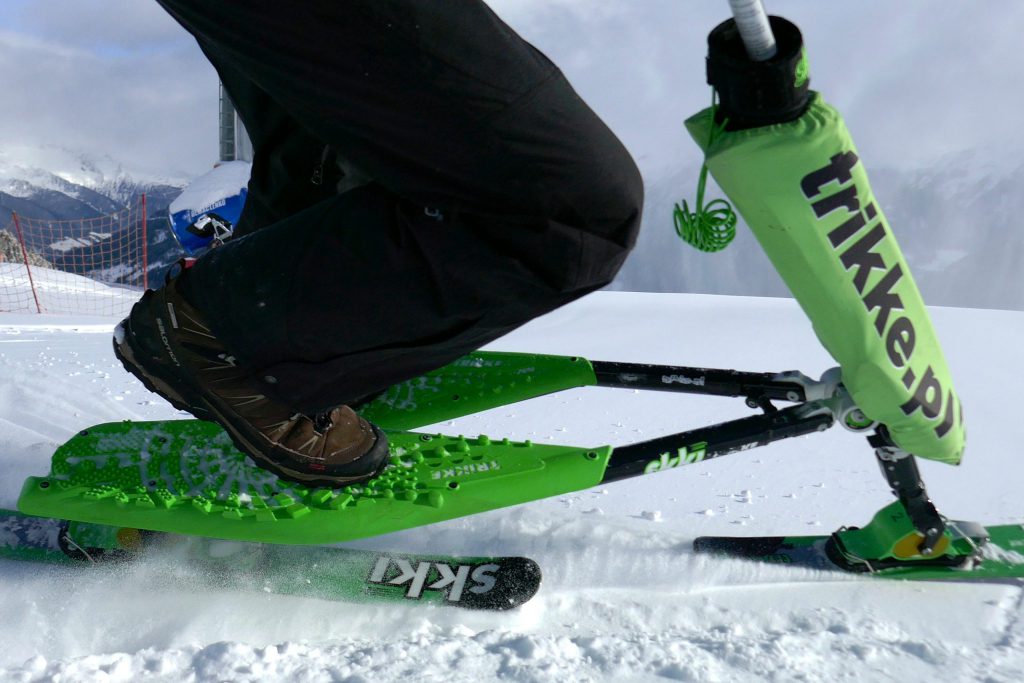
On very steep slopes, place your feet in the middle of the platform or even at the beginning. Due to the proper design of the platforms, the legs never fall off them and their grip is secure and very safe. It is a great advantage of the Skki Trikke that anyone can comfortably place their feet on the platforms.
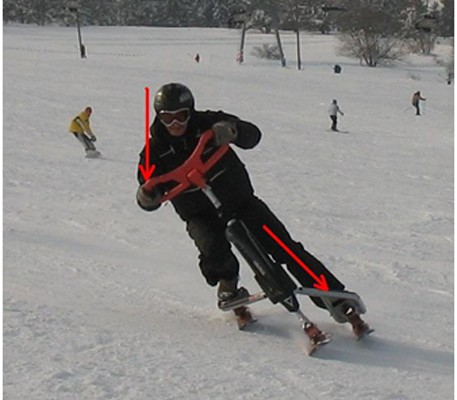
– the outer leg presses on the platform so that the lower ski is pressed against the slope
– the inner hand presses against the edge, which we keep in the turn. Just rest your body weight on the inner hand during the turn and Skki will turn on its own and hold the edge firmly.
Step 7. When riding for the first time, first do a body weight shift to one side and ride across the slope. This action should be done resting the body weight on the inner hand, and then slowing down to drive up the slope. Later, change direction and ride resting your body weight on the other hand. Remember to keep your hips against the handlebars.
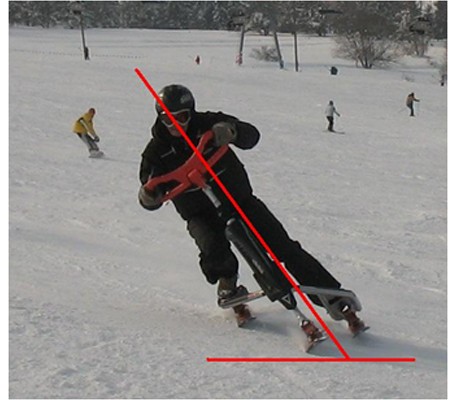
Step 8. The turn is made by flipping your body weight over the slope line, remembering to keep your hips back while resting your body weight on the handlebars. This way the Skki will turn on its own! During the turn, the whole body lies down to the slope in the direction of the turn. Please trust the edges, Skki will not lay to the side.
Step 9. Later, practice short turns going down the slope with a steeper change of direction.
Step 10. The next most important learning to ride is braking. It consists of rapidly tilting the Skki to the side, with simultaneous strong pressure of the legs on the outer platform (ski) and strong pressure to the slope of the handlebars through the hands and shoulder rim. It is necessary to “throw” the Skki and force it into the snow.